Tips For Keeping an Accurate Dyer’s Journal
Whenever you start dyeing yarn, one of the most important things you can do is to keep a record of your process. Recording yarn weights, dye weights, extra notes, and more makes it so much easier to replicate your dyeing results again and again. Keeping a thorough dyer’s journal means that you do not need to rely on your own memory to get the dye results you want every time. Whether you’re getting ready to dye your very first skein, or you’ve been dyeing for years, a dyer’s journal is an essential tool!
What should go into a dyer’s journal:
- Yarn weight & kind
- Dye weight & kind
- Amount and kind of acid/fixative/mordant
- Method used
- Dye time
- Finished samples or photos of dyed yarn/process
- Additional notes
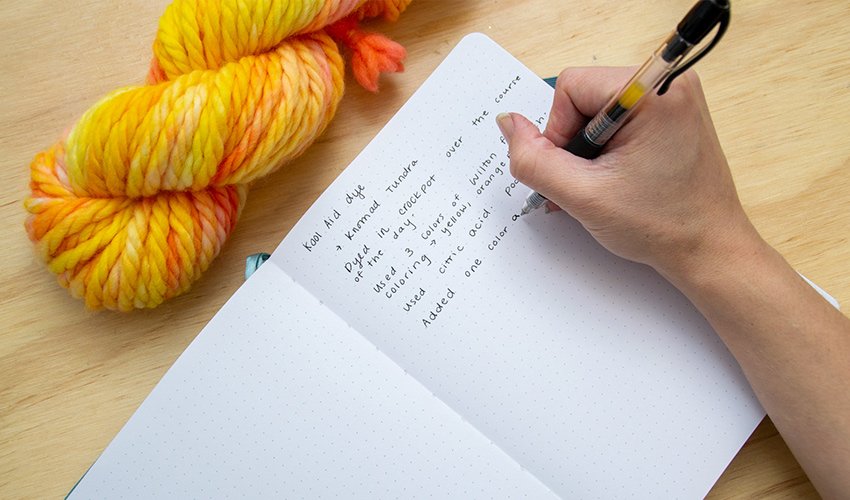
There are a few ways to record the vital information about your yarn dyeing methods. One stand by method is to jot down your process as you go. This way of record keeping lets you record everything as you go and captures a clear snapshot of your yarn dyeing process. Recording in a dyer’s journal as you go is great if you are just starting out and haven’t dyed before, or are trying a new method.
This can be done physically, or it could be done in a notes app on your phone. For the physical dyer’s journal, keep a notebook and pen in your dyeing space so it is handy through every part of the process. If you choose to go digital, the notes app on your phone is a great tool. You can easily snap photos throughout your process and add them directly into the note. I prefer this narrative method for natural dyes and alternative dye processes as those are more experimental and can take a few tries to get the color I want.
Here is a sample entry from when I was dyeing with avocados:
“Dyed on Knomad Yarn Tundra, 100 gram skein, and Egret, 100 gram skein, using avocado skins and pits from 10 avocados. Steeped all day in crockpot – started on high but the bath was starting to simmer, switched to low after two hours. Let cool overnight – scooped out skins and pits the next day and added presoaked yarn. In the crockpot on low all day. Let cool overnight. Oops missed one of the avocado pits – check bottom next time, some pits sink. Dye bath was a little crowded – only one skein in the crockpot at a time next time. Good deep pink color – more vibrant than skins alone.”
This one entry contains all the information I need to repeat this same process with some improvements. This could have easily been formatted into a bulleted list if that is your preference. The goal with any dyers journal is to capture all of the essential information so that your next dye batch is either identical, or you are able to make any improvements you previously noted.
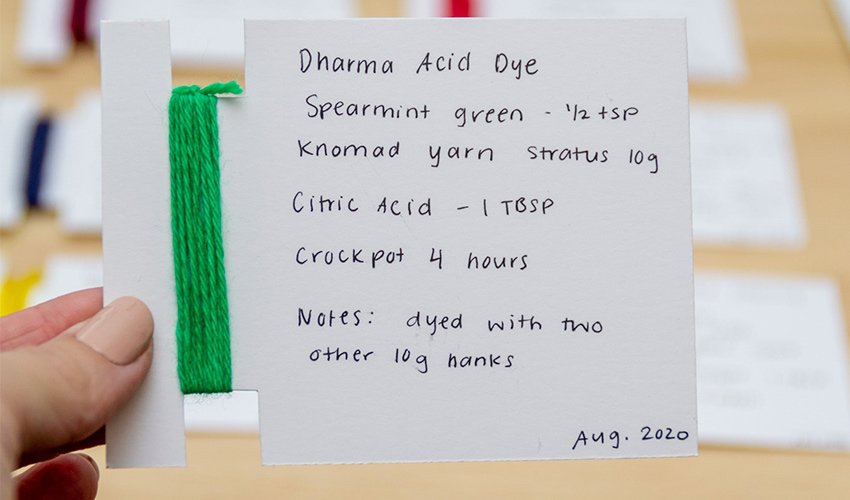
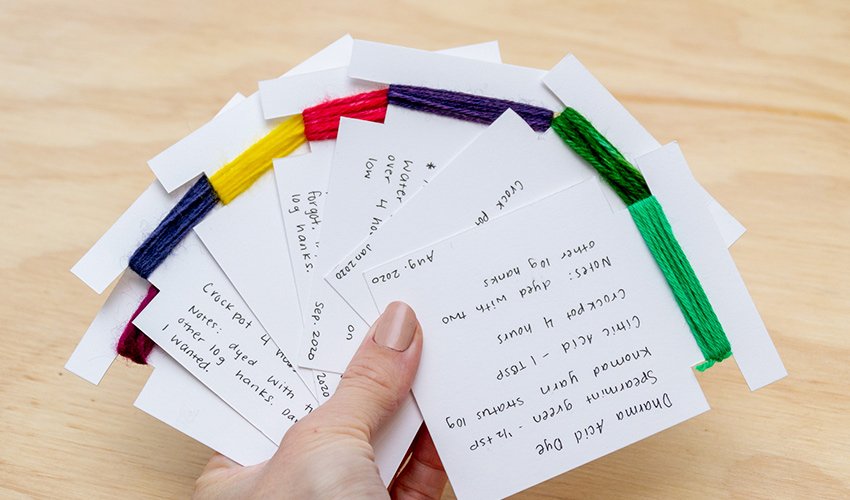
Another method that can work well is the notecard method. This is my primary method of record keeping for commercially made acid dyes. I have a stack of 3”x4” note cards with two little notches cut out on the end. I wrap a sample of the finished yarn around the card using those notches and record the crucial information next to it in a list. I keep the stack of cards on the same shelf as all of my acid dyes so that when I want to dye something, all of the information I need is in the same place. Here is an example of one of my cards.
This dyers journal method works well for me when the process isn’t experimental. With acid dyes, the formula is generally the same. My goal in keeping the reference cards is to be able to see the different colors at a glance and know how much dye I used to get those colors. If there is something that needs a little more recording, there is plenty of space at the bottom and on the back of the notecard if I need to make additional notes.
Keeping a detailed dyer’s journal is an essential part of your toolkit. However you record your dye process, we can’t wait to see what you make!
