Transform Bare Yarn with Avocado
Avocados are already a versatile food, but did you know you can use the pits and skins to dye a range of shades from blush pink and dusty rose to soft browns with undertones of peach?! Next time you whip up a bowl of guac, be sure to save the skins and pits for your next dyeing adventure.
Dyeing with avocados is a very simple process; all it requires is a bit of patience and a lot of avocados. This process is done easily over the course of a few days and is a great weekend project! Avocados are the perfect introduction to dyeing bare yarn with natural pigments. The materials are easily acquired, the dye bath is kitchen safe and non toxic, and this process is great for an advanced beginner.
This is a basic formula for getting started with avocado dyeing. Natural dyes are so versatile and there are many ways to shift the dye bath for a different final result. There are some advanced techniques at the end of this post.
Materials
- 6-10 avocados worth of skins and pits
- Bare yarn (I used a skein of Stratus, Egret, and Tundra)
- Large steel pot or a crock pot
- Large bowl
- Fine mesh strainer
- Tongs
- White bowl or cup
Getting started
Start saving the skins and pits from your avocados and in no time you’ll be ready to dye bare yarn with avocado. To get a good mid-tone color, you’ll want 6-10 avocados worth of skins and pits.
To prep and save your avocados, scrub the skins and pits clean of any leftover avocado flesh and let them dry. Once they are dry, cut the skins and pits into small pieces and freeze them. Keep adding to your bag of frozen avocados until you have enough to get started. Cutting your avocados into smaller pieces allows deeper dye extraction.
Preparing the dye bath
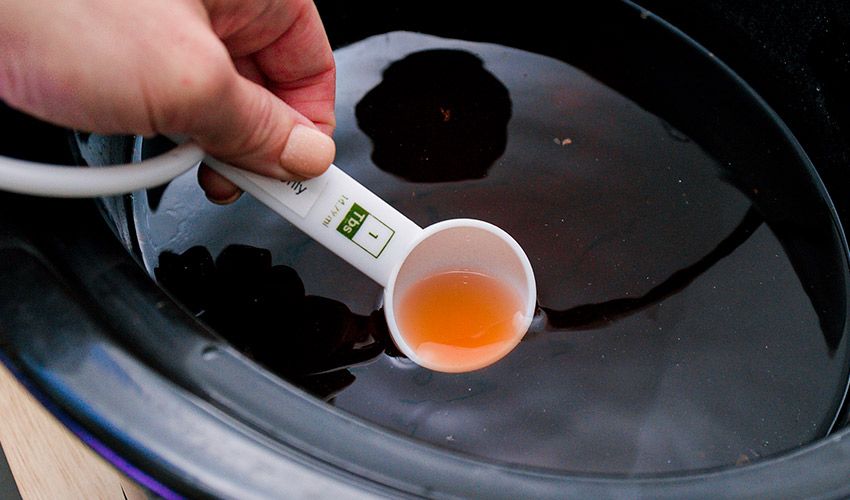
Fill your dyeing vessel about ⅔ of the way full with water. Add your frozen avocado skins and pits and give it a light stir. Bring the bath to a simmer and let simmer for at least 4 hours. Test your dye bath by inserting a white bowl or cup into the water to check the color. When the dye bath is about two shades darker than your desired yarn color, it is ready.
Turn off the heat and let the dye bath cool completely. You can easily leave your dye bath to cool overnight. Once the bath is cooled, pour it through your fine mesh strainer collecting the dye bath in a large bowl. Ensure all little bits of avocado are removed from the bath during this process. Return your cleaned dye bath to the pot.
Prep the yarn
Presoak your undyed yarn in cool water before adding it to your dye bath. Soak the yarn until it is fully saturated – around an hour. This allows for even dye penetration making the color uniform throughout the skein.
Add yarn to dye bath
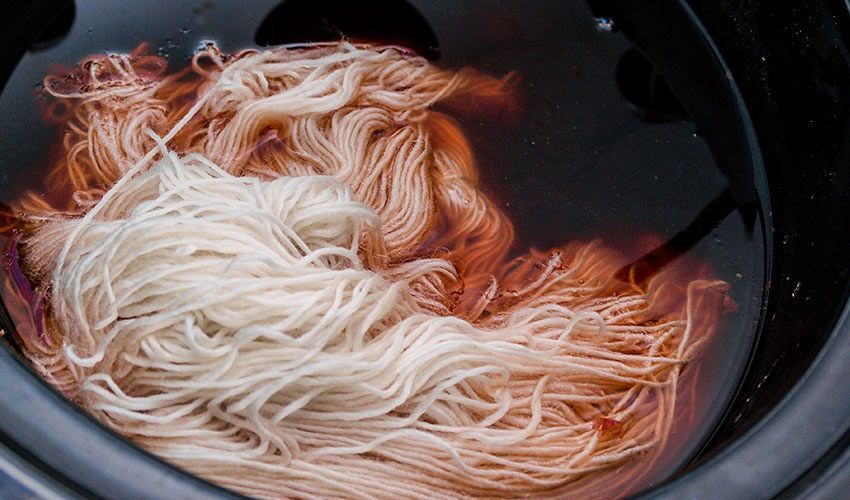
Add your presoaked undyed yarn to the avocado dye bath and bring to a simmer. Simmer your yarn in the bath for at least 4-6 hours, or until the yarn is about 2 shades darker than your desired final color. Turn off the heat and let the yarn cool. Keep an eye on your yarn during this process to ensure it doesn’t boil.
Rinse and dry yarn
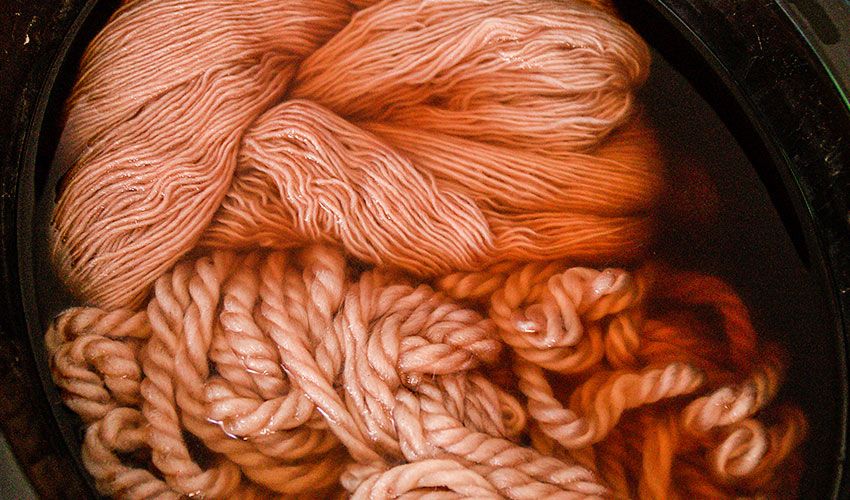
Rinse the cooled yarn thoroughly and hang to dry. It is likely that your dye bath will not be fully exhausted by just one skein of yarn so you can keep dyeing with the same pot. Just know that the color will get progressively lighter.
Enjoy your yarn!
Dyeing yarn with avocado is a fun weekend activity. It uses items that are readily available in most kitchens and is completely kitchen and food safe. It takes a little planning and patience to execute, but the results are well worth it! You can use this same process to dye a garment that is already knitted, like these sweet little baby bloomers [link to the undyed baby bloomers post].
Advanced dyeing notes
The beauty of dyeing with natural materials is that the colors you extract will vary each time. Specifically with avocados, the ripeness and freshness can impact the color. The range of colors that you can extract from avocados includes pinks, browns, cream, and anything in between.
To get pink
Keep the heat low and slow. Too high of heat can burn the avocado making the dye bath turn brown. Skins tend to create lighter dye baths and pits add in deeper pink shades but can turn brown more easily.
Shifting the color of your bath
The acidity/alkalinity of your dye bath will influence the color. To shift a bath darker, add baking soda. To brighten it, add vinegar. Test out the color modifiers in small amounts and wait at least 30 minutes before adding more. It can help to have a tester length of yarn inside the dye bath to see how the pigment has changed.
Take notes and experiment!
This process is fun to repeat and adjust for a wide variety of final colors. Take detailed notes of what you did, any modifiers you used, and how many avocados you used. This is a great place to include swatches of yarn with your final color results too.
Tags: Beginners, egret, Natural dyes, stratus, tundra
