Dyeing our new Alpaca and untreated Merino yarn Misti
Featuring: Misti, a 60% Fine Merino Wool 21.5 mic, 40% Baby Alpaca blend. Our...
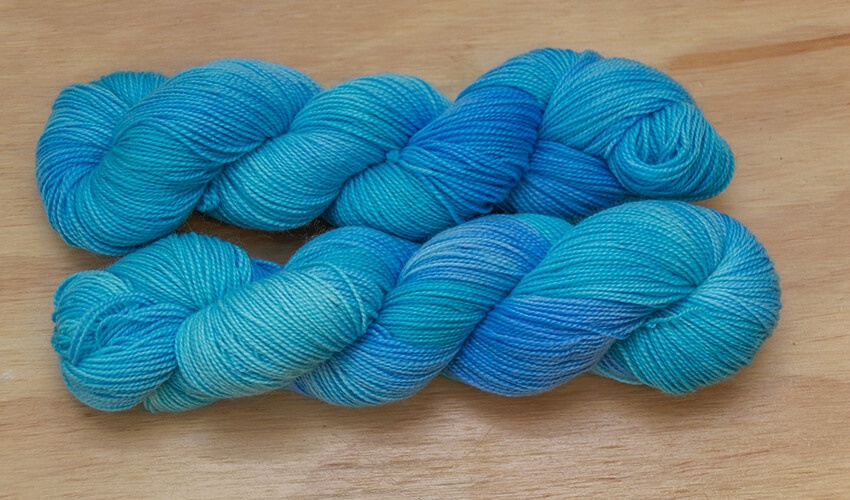
Spring is fast approaching, and one of my favorite signs of spring is all of the flowers poking up from the ground. The flowers are such a beautiful, colorful reminder of the importance of the soft spring rain showers that water the plants. To welcome spring, I wanted to make a blue inspired by spring showers using two different colors that will subtly blend together to create a soft, tonal, springy blue. The two colors we will be using are BABY BLUE EYES and TRUE TURQUOISE by Dharma, and we will be using two skeins of DUO.
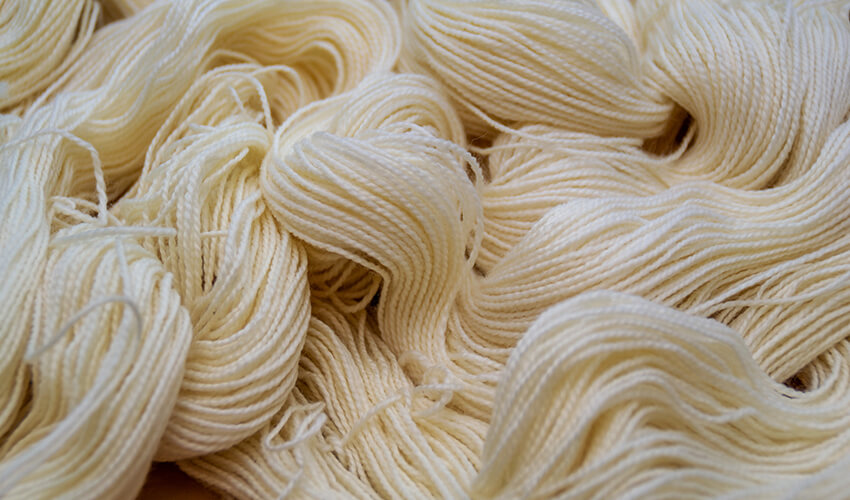
DUO is a wonderfully soft, light, and springy yarn base that matches perfectly with a light and airy dye treatment. DUO would be a great option for a lacy knit shawl to create a perfect outer layer for brisk spring evenings. This Lionberry shawl or the Wendy’s Fern shawl would both be great ways to use your dyed spring showers skeins of DUO!
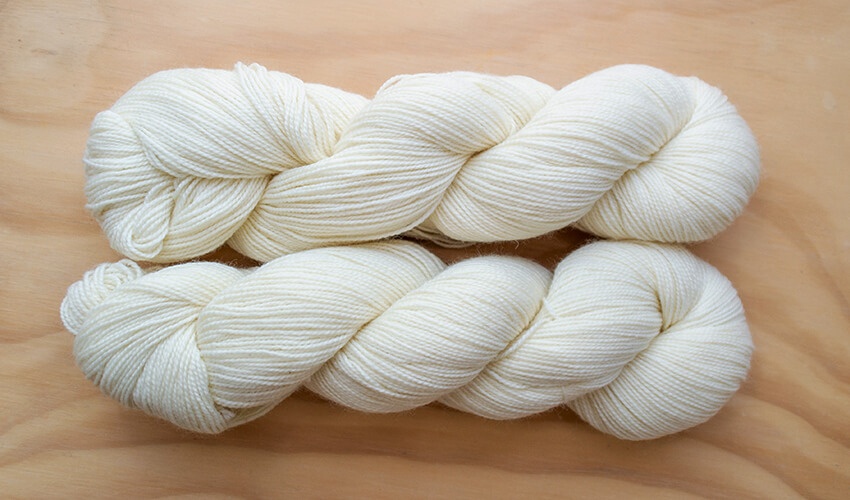
Two skeins of DUO
Dharma Acid Dye in BABY BLUE EYES and TRUE TURQUOISE
Citric Acid
Slow cooker or steel pot with lid + heat source
Tongs
2 Small cups
1/16 teaspoon
Skewers or chopsticks
Zip ties
Gloves
Respirator mask
Large bowl
Water
White utensil or dish (optional)
*Any materials used in acid dyeing are no longer food safe and should be kept separate
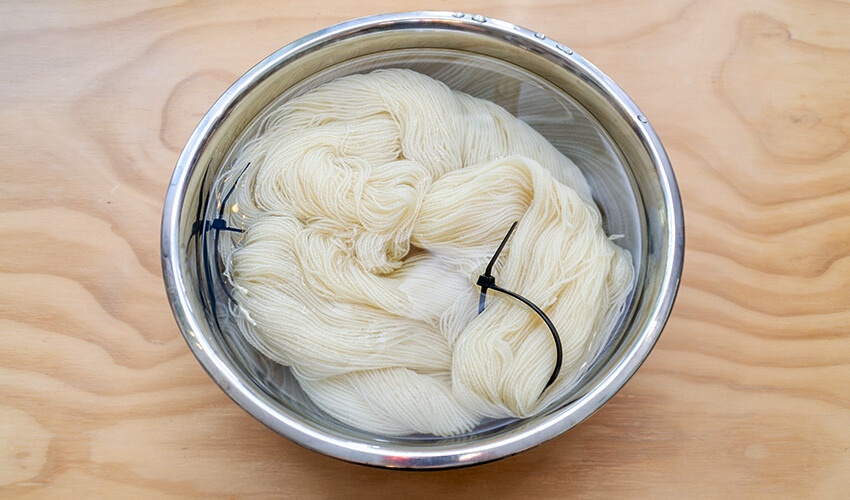
Loop zip ties through each of the skeins to keep them from tangling in the dye bath. This also makes them easier to maneuver during the dye process. This is optional as all Knomad skeins come ready to dye with three figure eight loops spread throughout each skein. Submerge the two skeins of DUO into a bowl with cool water. This presoak typically takes about 45 minutes to an hour and a half. Allow the yarn to fully absorb the water. The yarn should become darker in color evenly throughout.
A thorough, even presoak is essential for an even dye application because the water causes the individual strands to swell. This opens the outer protective cuticle layer of the fibre, allowing the dye pigments to be deposited evenly and bind to the core of the yarn.
Don your respirator mask and gloves. Fill each of your small cups with warm water. Into one cup, dissolve 1/16 teaspoon of BABY BLUE EYES dye by Dharma. Stir slowly and gently with the skewers or chopsticks to ensure any dye lumps are dissolved. Scrape the bottom of the cup to mix up any pigment that may have settled on the bottom. Into the other cup, dissolve 1/16 teaspoon of TRUE TURQUOISE dye by Dharma repeating the same stirring process. Set both cups to the side for now. I set the cup on top of or directly next to the dye I used in the cup so I don’t get confused.
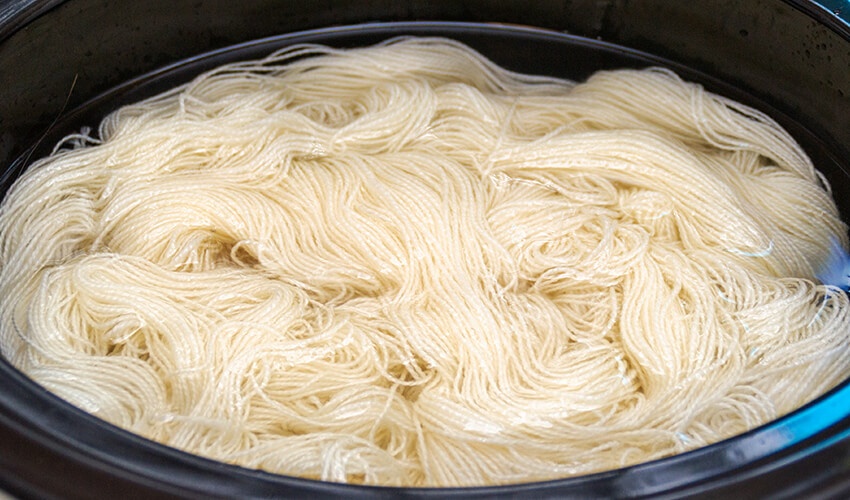
Fill your dye pot a little over half way with cool water. Dissolve 1-2 tablespoons of citric acid into the water and stir well. Your dye area is now ready to add your yarn!
Gently squeeze out any excess water from your presoaked skeins and transfer them into your dye pot. Settle the skeins so they are evenly distributed in the bottom of the pot.
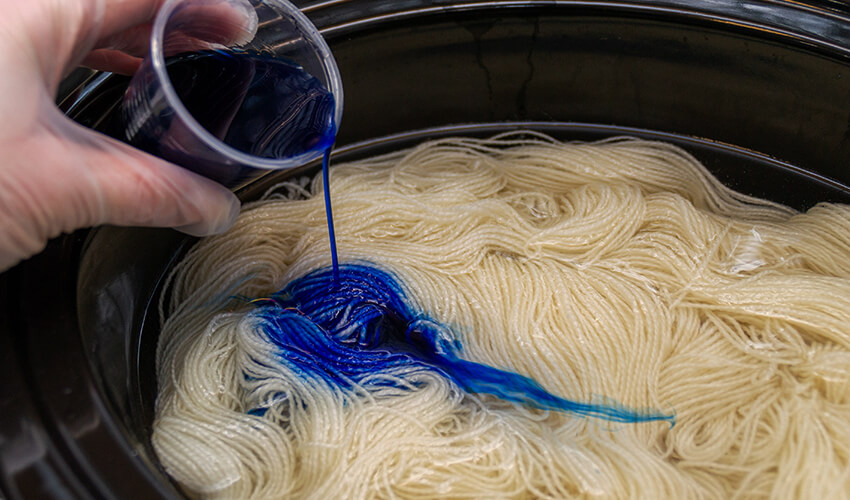
Pour the cup with BABY BLUE EYES dye dissolved into it over one half of the yarn. Use chopsticks or tongs to work that half of the yarn to allow the dye to move down to the bottom of the dye bath. You don’t want to stir it so much that the dye spreads throughout the entire pot.
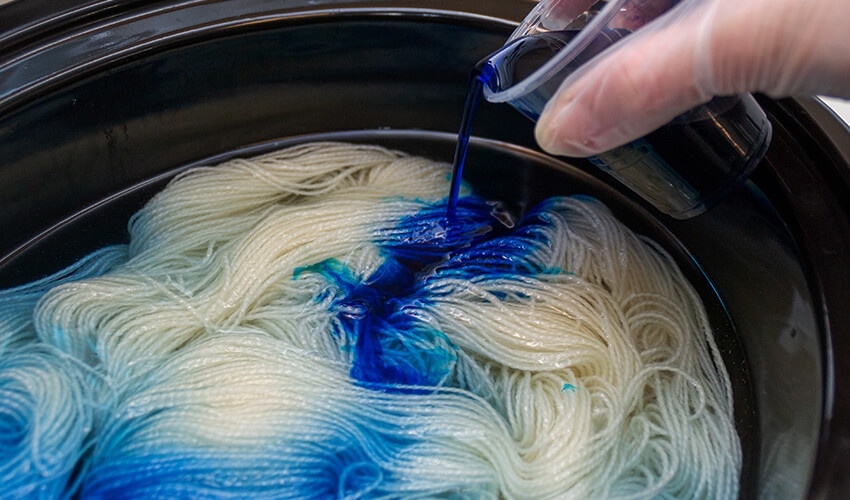
On the other side of the dye pot, pour the contents of the cup with TRUE TURQUOISE dye over the undyed half of the yarn. Use chopsticks or tongs to work the dye around this half of the yarn allowing it to flow down to the bottom of the dye bath.

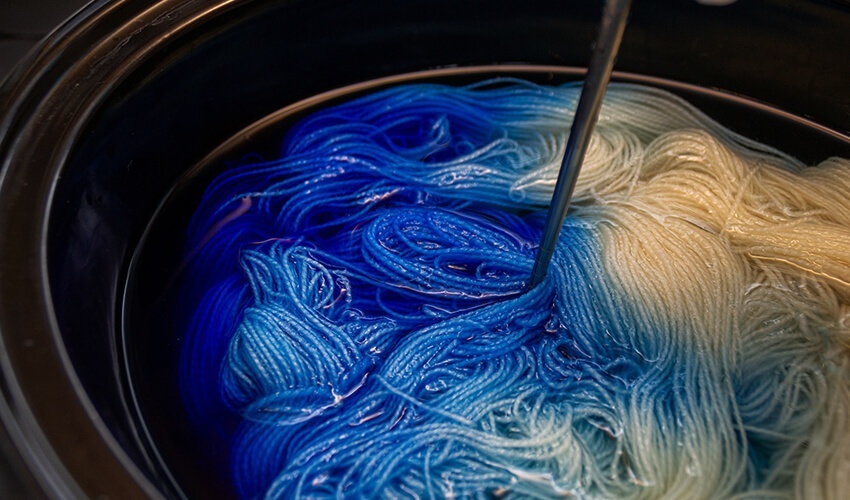
Cover the dye bath with a lid and add heat. If you are using a slow cooker, the high setting for 1-2 hours will work. If you are on a stove top, medium is usually a good setting. You want the yarn to get quite hot without simmering or boiling.
For this process, I wanted a very soft, smooth blend which is why the dye was added before the heat. If you want a sharper, crisper blend with more definition between the colors and more patches of undyed yarn, you can bring the yarn up to temperature before adding the dye. The dye pigments will bond to the fibre, when heat, dye, and acid are all brought together so when and how the dye is added can change the end results. Adding the dye first will consistently create the soft smooth blend of color variation in this post.
Once the dye bath is exhausted, turn off the heat and remove the lid. A dye bath is exhausted when the water surrounding the skein is clear. I like to use a white utensil or dish (I have a measuring spoon) to check the water to determine if it is ready or not.
Allow the yarn to cool fully before rinsing and drying. I usually plan it so that my yarn can cool overnight. This works well if you can leave your yarn in an undisturbed location overnight. Otherwise, plan for at least 2-3 hours for your yarn to cool.
Once the yarn is cooled completely, squeeze out all of the excess water over the dye pot and move it to a sink to rinse it thoroughly with cool water. Once it is rinsed, hang it to dry!
This final yarn is such a soft, subtle color that feels quite light. I love the combination of the airy yarn with the gentle dye treatment. Now that your yarn is finished, it is ready to be knitted, crocheted, or gifted to a friend! Don’t forget to share what you’ve created with us on social media using the hashtag #knomad_yarn. What is your favorite color to dye in the spring? Let us know in the comments!