Natural Dyes for Wool: Acorns + Iron
As an amateur, experimental natural dyer, I love playing with the potential colors that the world around me provides. Exploring local sources has become a secondary passion to my knitting practice and has given me a new view of the world around me. I recommend that even if you have no intention of naturally dyeing yarn for sale, you give it a try, and today’s experiment is an especially fun one. We’re dyeing with acorns, then modifying the acorn dyed yarn with iron water.
Typically with natural dyeing, we follow a particular order of steps to prepare wool fibre for dyeing. First, we scour–clean the wool. Luckily, Knomad has already done that step for us with their beautifully prepared fibres. The next step is called mordanting, which is a second process, involving water, fibre, heat, and a chemical mordant. This allows color to bond to the fibre I’ve chosen. However, some dye materials have a naturally occurring chemical called a tannin. Tannins are a class of polyphenolic biomolecules that bond with proteins under the right conditions. These tannins also attach the color of their material to the protein fibre we’re using–wool. Acorns are rich in natural tannins, so there’s no need for us to perform the extra step of mordanting when we use them. This is awesome, because acorns are very plentiful, especially in the early fall, and it’s easy to collect caps and corns from the ground around any oak tree.
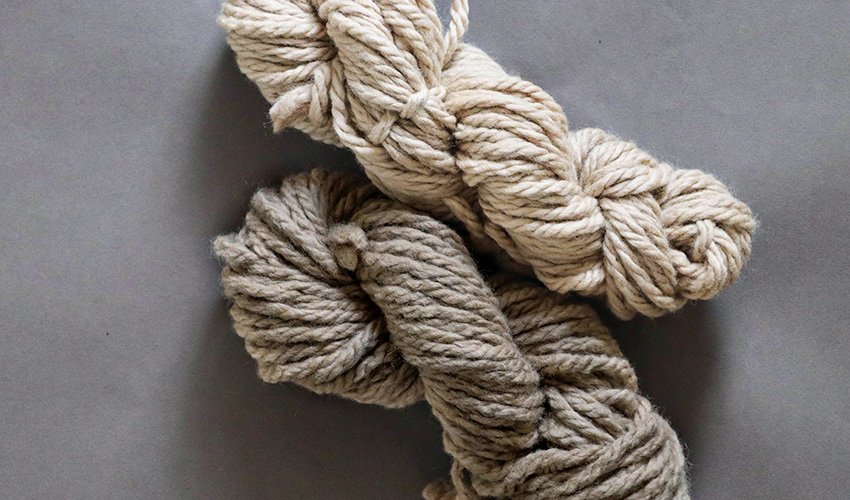
What isn’t so exciting about acorns is the finished color we get–a nutty brown, which is nice, but we can get something similar in shade to this brown with walnuts. To make this particular dye experiment a little different and more special, we’ll be adding a step at the very end and using an iron modifier. A modifier in natural dyeing is an additive that shifts the color of the dye good in an entirely new direction. With acorns, we’ll be shifting a bit of cafe au lait brown into deep gray that is just a little more special.
How to Naturally Dye Wool with Acorns and Iron
Materials
For this dye experiment, you’ll want the following materials on hand. Remember, anything you use for natural dyeing must not be used again for food or food prep at any time, and you’ll want to store it separately to avoid any cross-contamination.
- A large stainless steel or aluminum soup pot or stockpot
This should be big enough to hold 1-2, 100 g skeins of yarn, covered in water and fully submerged with room to move around.
- Dedicated tools: measuring cup, spoon for stirring
- A heat source
This could be your at-home stove with good ventilation, a hot plate, a propane burner, or even a crockpot. If you’d like to use an upcycled crockpot, you will not need the stockpot, but it will need to stay fully dedicated to natural dyeing as dyes are not food safe.
- A water source
Natural dyes do use a lot of water–for prepping your fibres, creating dye baths, and rinsing finished yarns. You can use rainwater if you like, especially if you find your tap water is influencing your colors negatively. You can test your water’s pH with strips and see how ‘neutral’ it is if you like.
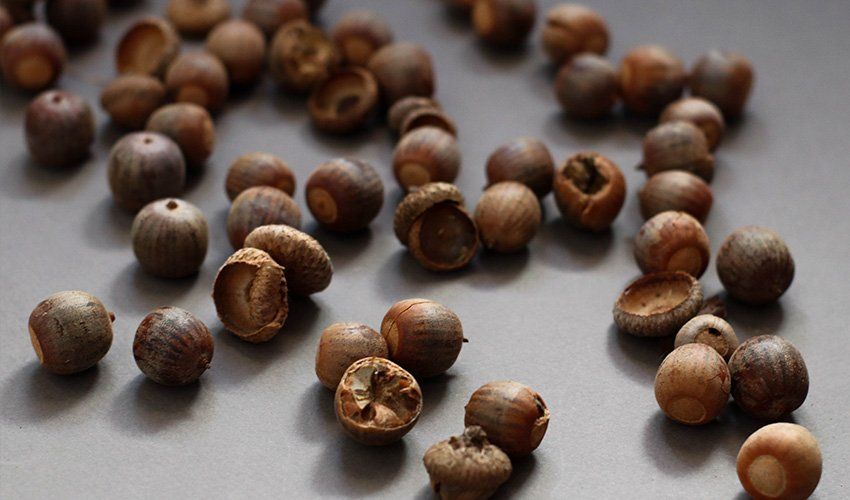
- 1-2 lbs of acorns
Try to collect mostly nuts, although a few tops won’t hurt you, they just don’t give off as much color as the nuts themselves. Broken nuts are just fine and so are partial nuts. Try not to pick up any soft or slightly rotted ones, though.
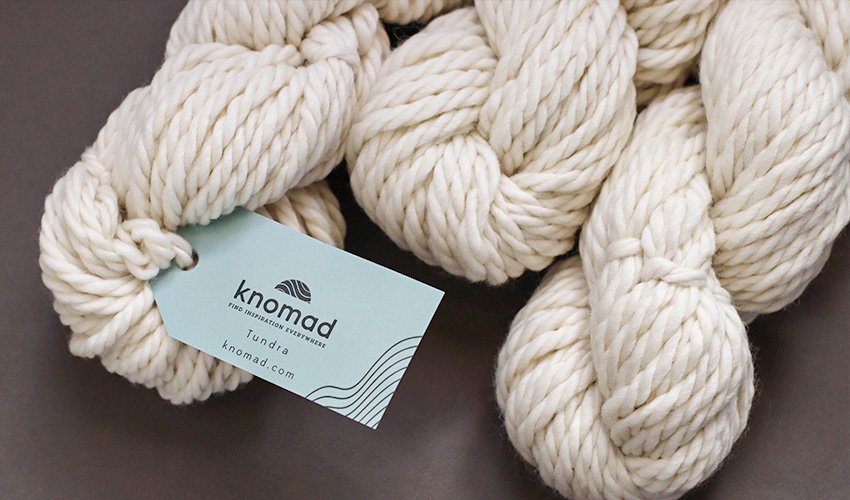
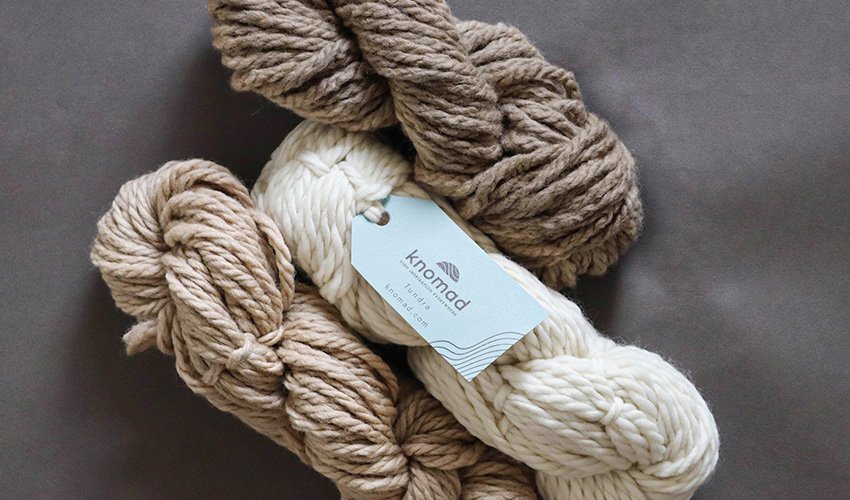
- 2 skeins of Knomad Tundra
For this dye experiment, I am using a 100% Andean Highland (Peruvian Highland) wool, non-superwash, from Knomad. Tundra is a softly spun, bulky weight yarn perfect for chunky, quick knits.
- Old clothes
Since acorns require no mordant to bind to fibre, they’re going to leave behind a shadow even if you rinse immediately. Don’t risk your favorite clothes to stains!
- Gloves
Rubber gloves or kitchen gloves, which can be reused multiple times, are my preference here. While most natural dyes are perfectly safe to handle with your hands, you’ll be washing, rinsing, and in and out of water a lot, which can damage your nails and cuticles. Keep those knitting hands pretty and get some gloves.
- A hammer
You’ll be breaking up your acorn pieces into smaller bits, and a hammer is handy for this–alternatively, you can also use a food processor, although the acorns might be very hard on the blades. Acorns are edible, so it’s okay to use a food processor here and clean it for food use as long as it doesn’t touch anything but the acorns!
- Iron liquid
Iron liquid, iron water, or iron modifier are all different names for the same thing–water that has particles of iron suspended in it. If you’re in a hurry, you can pick up iron powder from
Step 1: Making the iron mordant will take the longest, so if you’d like to get started sooner rather than later, consider substituting a pre-prepared iron powder (ferrous sulfate). Otherwise, you can create your own iron modifier by sticking some rusty metal things in a jar and covering those items with about ⅔ water and ⅓ white vinegar. You’ll leave this for a couple of weeks until the water looks dark orange or there is a lot of orange sediment at the bottom.
Step 2: Gather your acorns, then grab a hammer and get ready to SMASH. Have a blast breaking up your acorns into smaller bits. I like to stick them all into a couple of plastic grocery bags and have at it–what a great stress reliever. When your acorns are mostly broken up, stop, as we don’t need acorn powder.
Step 3: Transfer your smashed acorns to your dye pot and cover, adding 1-2 inches of water to submerge them fully. Bring the dye bath up to a low simmer (180 F / 82 C). Stirring occasionally, cook the acorns for 1 hour, then remove from the heat and allow to cool overnight.
Step 4: The next day when you’re ready to dye, remove the tags from your yarn, leaving all the ties, and open the hank into a big loop. Add reinforcement ties if you feel they’re necessary, and soak the fibre in warm water for an hour to get it fully saturated.
Step 5: While the yarn is soaking, strain the acorn pieces from your dye bath, reserving as much liquid as possible (this is the dye, so don’t chuck it out). I use a mesh strainer for this step, but you can also use a bit of cheesecloth or your hands. There’s nothing toxic about the acorns at this step, and if you wash your hands you’ll be perfectly fine. If a few little pieces slip through, you’ll be able to shake them out of the final yarn later.
Step 6: Drain the water from your yarn soak, and push a little of the extra retained water out with your fingers. Not too much–liquid being held by the fibre will help draw the dye into the yarn, so we don’t want to take it all out and risk too much splotchiness in the final fibre. Add your yarns gently to the dye bath, making sure that yarn has enough room to move around but is mostly submerged in the pot. If you need more water, it’s okay to add some here.
Step 5: Place your pot on the heat source of your choice and increase the temperature gradually to a heat just under simmering. If you have a thermometer, you’re going to first lift the temperature to 90 F (32 C), stir, and then lift the temperature again to 180 F (82 C). I don’t have a thermometer, so I just eyeball it, and that’s okay too. You want the water hot enough for steam to be rising off it, but not so hot that it’s bubbling, boiling, or moving your yarn around for you. Keep the dye bath at this temperature for an hour, stirring occasionally to move the fibres around and keep them from collecting dye only on one side. After an hour, turn the heat off and let it cool.
Step 6: Lift a bit of your yarn from the pot and evaluate the color–remember, it will typically be 1-2 shades lighter than what you see on the wet fibre. If you like the color as-is, remove the yarn from the pot and move to the next step. If you would like to see the color deepen or strengthen a bit, leave it in the pot overnight, stirring one more time before you go to bed. The darker your acorn dye bath is, the deeper your grays, so keep that in mind. (I removed one skein immediately after the dye bath and left one in so that we could see the difference).
Step 7: If you’d like to keep your skeins brown and you are not adding the iron modifier, you can remove them and move to Step 9. This step is only if you’d like to modify your color with a bit of iron. Bring the dye bath, yarn and all, gradually back up to 180 F (82 C), stirring occasionally to help the yarn heat evenly and move around any particles of dye that may not have attached to the yarn.
Step 8: Mix up your iron water–it will have settled and the particles will be mostly at the bottom. It should look cloudy when you are ready to use it. The ratio of iron water to your dye bath should be around 1% or 1:100 parts iron to fibre. For me, this is usually a generous little pour into the dye bath (like adding a bit of milk to your coffee). You can always add a little more, but it’s very hard to take it out once it’s in! Stir immediately and watch the color change. If it doesn’t switch to a steely, dark gray-black, there’s not enough iron, so you can add more. Let it sit at the same temperature with the iron modifier for about 10-20 minutes, moving your yarn around to allow all of the acorn dye molecules to get friendly with the iron molecules. Once you’re satisfied with the color, you can move to the next step. Do not be tempted to leave your yarn overnight or for longer than 30 minutes, as heavy metals like iron can cause damage to protein fibres with overexposure, causing breakage and weakness.
Step 9: Remove your yarns from the dye bath and smoosh out some of the extra dye–set the wool aside. Fill a sink, basin, or bucket with room temperature water and add your yarn, moving it around with your hands to allow dye release. When the water is dark, drain it and do this step again. Rinse until the water is mostly clear to insure that no dye particles will transfer to hands or clothing while working with the finished yarns. If you want, you can add a little bit of wool wash to one of these rinse baths to improve the softness and scent of your finished yarn.
Note: This dye bath is safe to pour down your home sink, as iron is a naturally occurring material that is filtered out in water treatment plants–however, do not pour it down your sink if you are on a septic system. If you are on a septic system, pour it in an area of your yard or driveaway away from any naturally occurring water sources (like rivers, streams, ponds, or creeks), and avoid allowing runoff to enter drainage culverts that lead to rivers, streams or creeks.
Step 8: Hang your hanks of yarn to dry out of the direct sun (I like to use a portable hanging rack in the bathtub). They will drip a little bit, so if you need to dry them indoors, I suggest putting them in a bathtub or in a room with a drain (like a basement). Depending on your humidity and weather, it can take 1-2 days for yarn to fully dry, but maneuvering it so that the same part of the hank is not always hanging down can help move this process along a bit.
I can’t wait to see your experiments with acorns and iron. Do you enjoy the natural, warm browns of the acorn dye best, or did you fall in love with the steely gray of the modified yarn? Both? Yeah, me too.
Watch our video
Tags: Beginners, Natural dyes, tundra

