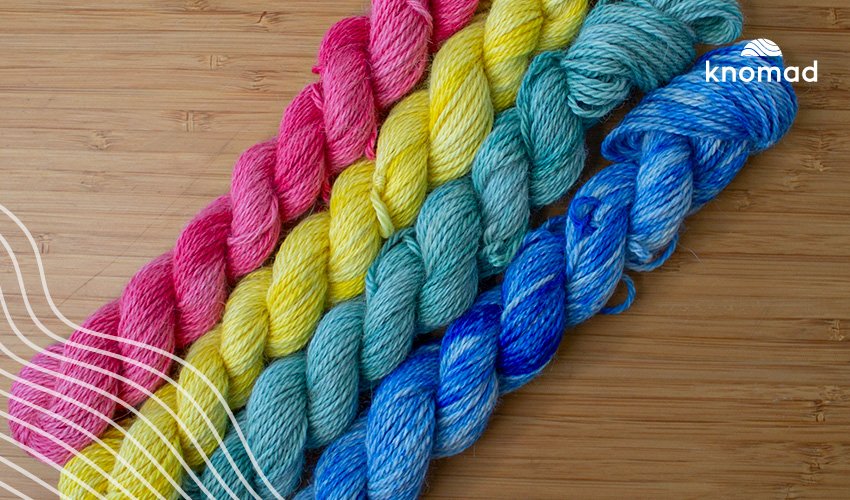
Kitchen Safe Dye with Food Coloring
Dyeing yarn in the kitchen with food coloring was my first introduction to the world of yarn dyeing. This method is beginner friendly. Because it doesn’t require a lot of materials and tools, it is an easy way to get started dyeing your own custom skeins of yarn! Additionally, everything used in this process is food safe, meaning you won’t need a separate set of materials just for dyeing.
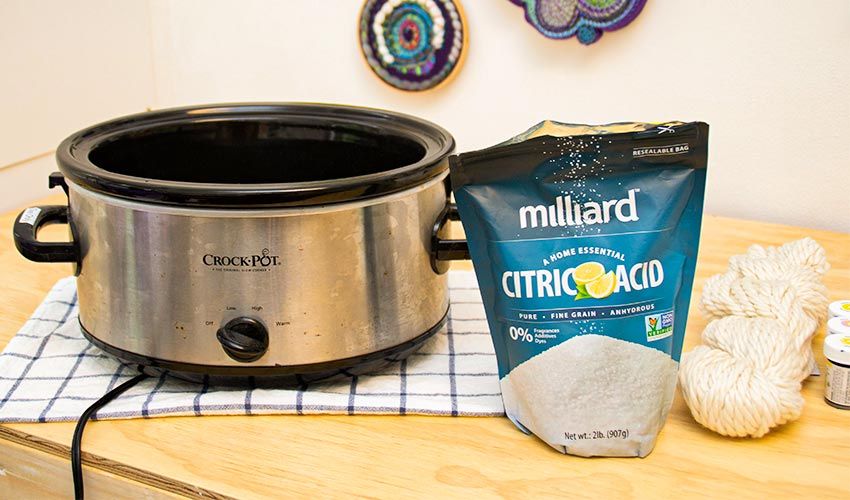
When dyeing wool yarn, you will need three key components for success: heat, acid, and time. My favorite way to combine heat and time is by using a crock pot. The crock pot keeps the water hot and at a consistent temperature for a long time resulting in even color saturation. I use citric acid to set the dye, but you can use white vinegar as well.
A few reasons you will love dyeing with food coloring:
- Affordable beginner option
- Minimal items to store
- Kitchen safe
- Family friendly
- Easy clean up
Materials:
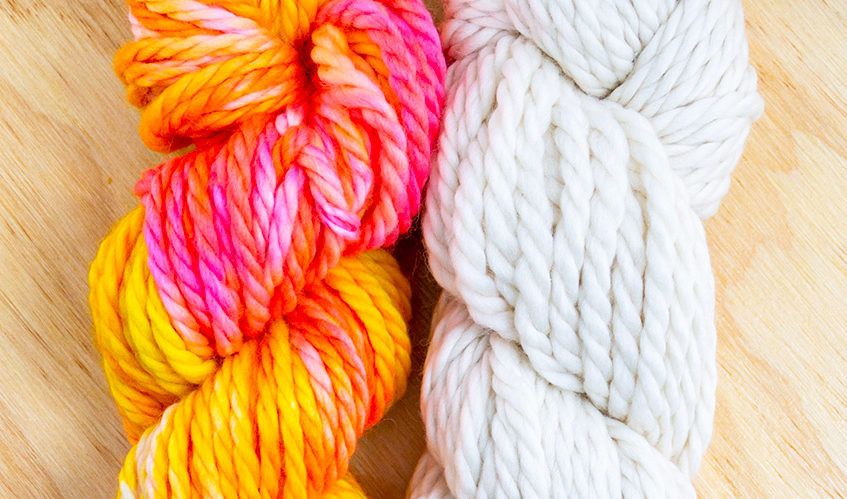
- Bare yarn (I used a skein of Tundra and a skein of Stratus)
- Gel food coloring
- Citric acid or plain white vinegar
- 6 quart or larger crock pot
- Small glass cups
- Spoon
- Metal tongs or chopsticks
Prep the Crock Pot
Fill your crock pot with enough water to barely cover the bare yarn. You will be adding additional water with the food coloring later, so err on the side of too little water vs too much. Stir in one tablespoon of citric acid (if you are using vinegar, mix in three tablespoons of white vinegar). Once the citric acid has dissolved, add in your skein of yarn. Knomad yarn comes in a skein perfect for dyeing already – just untwist it and fluff the yarn a little before adding it to the water. Turn the crock pot onto the high setting and wait until the yarn is fully saturated. This will take at least an hour or two before the yarn is soaked through.
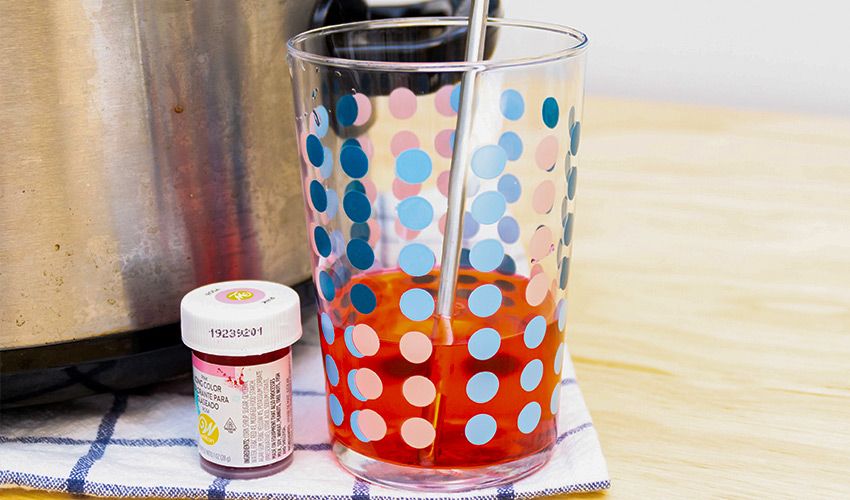
While the yarn is presoaking, it is time to mix up the food coloring! Fill three glasses with a quarter cup of warm water. Dissolve the gel food coloring into each of the glasses. I used about ¼ of a teaspoon of each color. Gel food coloring can be slow to dissolve so prepare for a bit of stirring! It is important to dissolve the food coloring completely to get even dye coverage on the yarn.
Add the Color
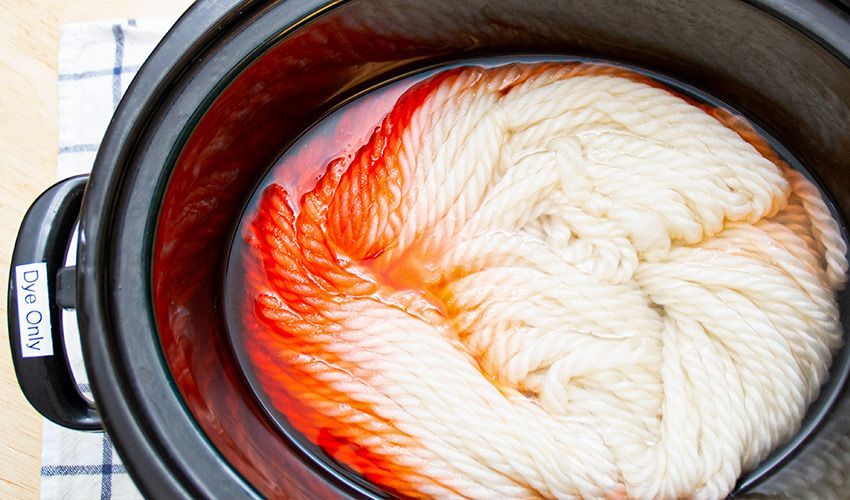
This is the fun part! Add the first color to one side of the crock pot. When pouring the dye in, add it to one section for a pooling effect that will create concentrated color in one section of the yarn. After adding the first color, wait until that dye has been fully absorbed by the yarn before adding the next color. When the water is clear again, the dye has been exhausted, which means the yarn has fully absorbed the color.
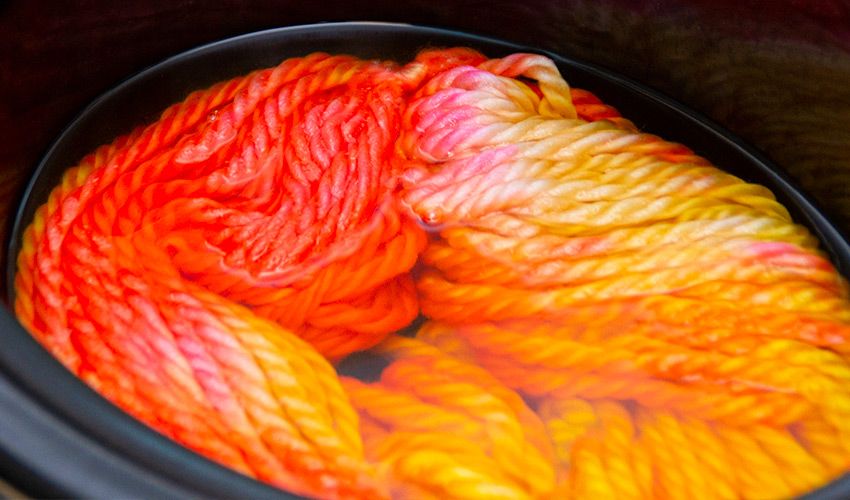
Repeat this process until all three colors have been added and the food coloring has fully absorbed into the yarn. When adding the color, you may want to lift up sections of the wet yarn to ensure the dye fully penetrates the entire skein. I use a pair of metal chopsticks for this, but a pair of tongs or a fork will work just as well!
Cool, Rinse, and Dry
After the last color has been absorbed, turn off your crock pot and let the water cool completely. Once the water is cooled, drain out all of the water from the pot. Gently rinse the dyed yarn with cool water ensuring that any residual dye is rinsed out completely. Lightly squeeze out the excess water and hang your freshly dyed yarn somewhere to dry!
Enjoy!
Once your yarn is dry, it is ready to be used for your next project or even gifted to someone who loves to create with beautiful hand dyed yarn!.
Food coloring is a fun and kitchen safe way to get started dyeing your own yarn! The materials are easy to access, non toxic, and kid friendly, making it the perfect way to test out if yarn dyeing is right for you. I have a hunch you’ll be obsessed after experiencing how easy it is to get bright colors with just a little bit of effort and some patience!
Tags: Beginners, Hand dyers, indie dyers, stratus, tundra
